Christmas to arrive. The Arduino compatible microcontroller with integral WLAN module (Pretzelboard) and the included components are perfectly suited for 24 themed, diverse and exciting experiments. Internet of Things includes the communication and control of sensors and actuators in a large network.
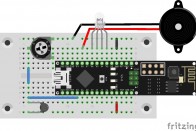
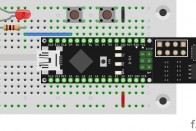
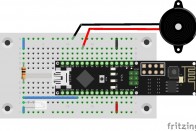
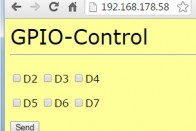
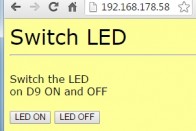
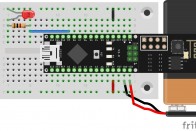
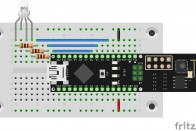
The various aspects of the IoT theme are explored in practice by using simple examples starting from simply switching an LED on or off with a smartphone, the creation of a Web server or the long-term monitoring by means of sensors. All circuits are put up on a pinboard; no soldering is required.
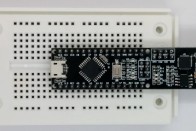
The Advent calendar imparts useful hardware and programming knowledge in a playful way. With the help of the illustrated manual all 24 experiments can be built and tested without prior knowledge. The advent calendar contains a specially designed hardware motherboard with integrated WLAN module that can be programmed by means of the Arduino software.

 Deutsch