
 Deutsch
Days-16
Day 4: Setting up Internet connection
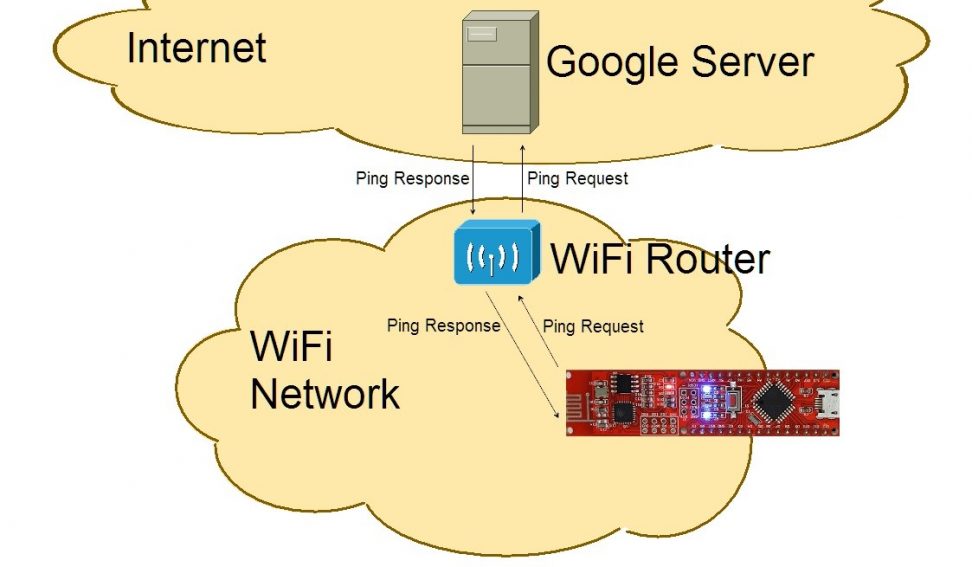
Behind today’s door is a 1-kohm resistor. We’re not going to do much with it today, but tomorrow it becomes important. In today’s test, we want to set up an initial connection to your home WLAN network. For this purpose,…
Read more
Day 3: The NanoESP in access point mode
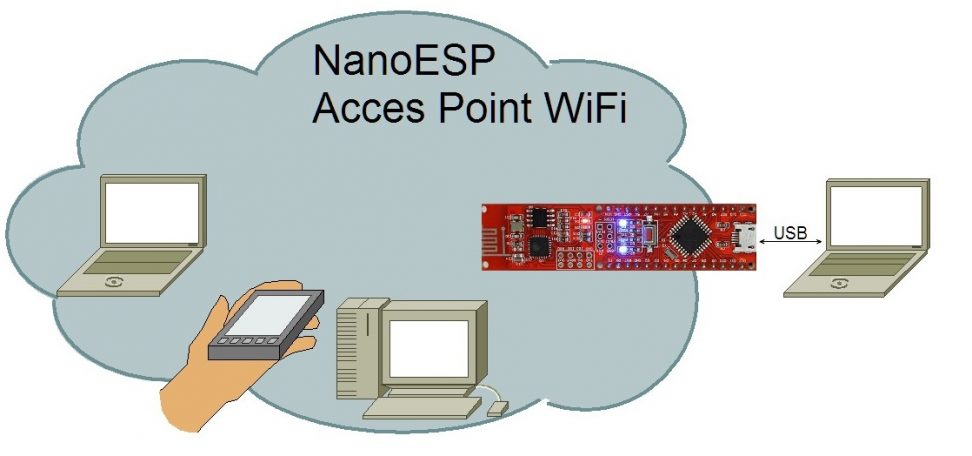
Behind the third door is the jumper wire, which is important for many tests. To prepare for later tests, you can place the supply lines GND and VCC on the outermost lanes. You’ll thereby have better access to these important…
Read more
Day 2: The Arduino IDE
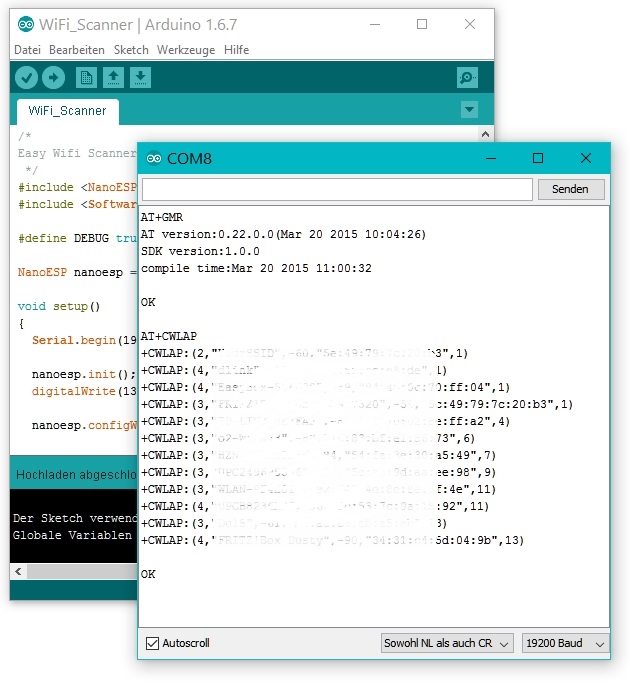
This time there’s a breadboard behind the door. On it, you can quickly and easily assemble the hardware layouts of the Advent calendar. Since only the NanoESP is available so far, we’ll start with it. It’s best if you plug…
Read more
Tag 1: Das NanoESP-Board
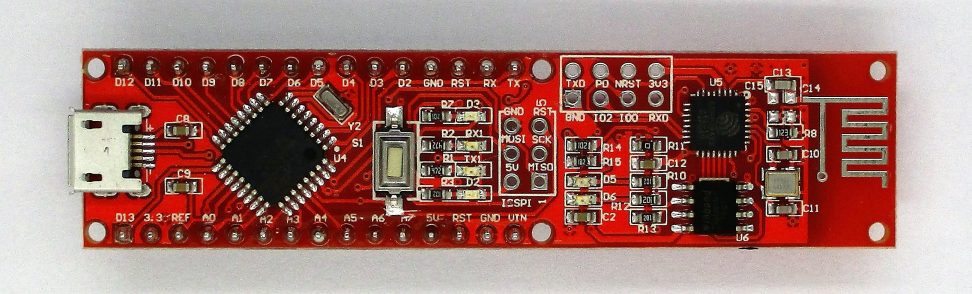
It’s the first of December and thus time to open the first door. Behind it is arguably the most important element of the calendar: the NanoESP board. This Arduino-compatible controller with WLAN function is at the centre of the 24…
Read more
Tag 0: Alle Programm von Kalender 2016
Sorry, this entry is only available in German.
Library for NanoESP & Pretzel Board

Sorry, this entry is only available in German.
(Deutsch) Infos zum neuen Adventskalender
Sorry, this entry is only available in German.