
 Deutsch
Tag Archive: Webserver
Day 19: Configuration page for the NanoESP
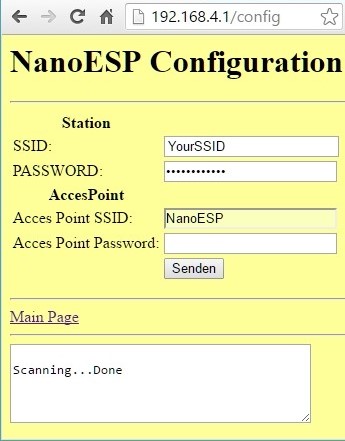
Behind today’s door is another cable. With the two cables it’s possible, for example, to place the RGB LED apart from the board. We’ll need the RGB LED today because the test is about a website with which you can…
Read more
Day 18: Weather monitoring
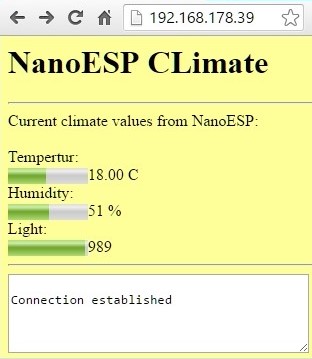
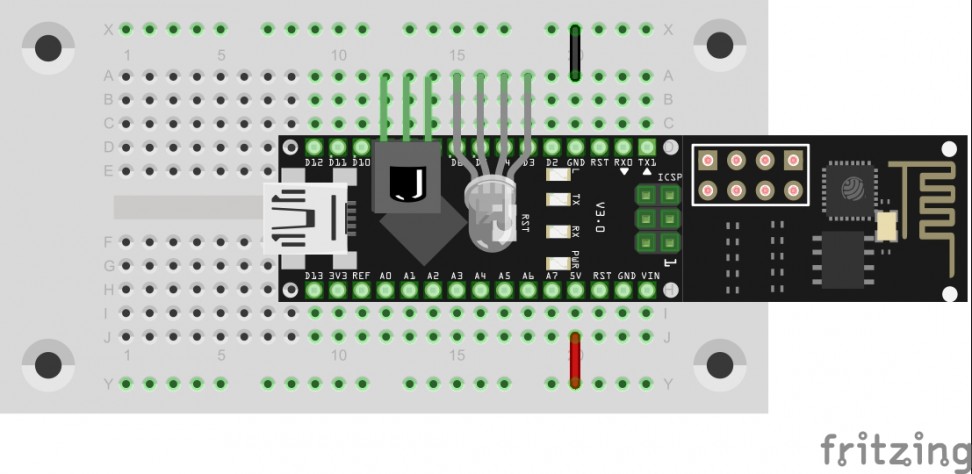
Behind today’s door is a very special component, namely a humidity sensor. Together with the phototransistor and the NTC, it creates a weather station for at-home use. The following layout is necessary for this purpose: Today’s layout is a bit…
Read more
Day 17: Wake Up Light
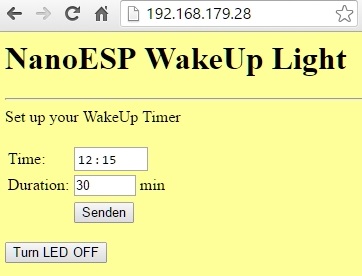
Today’s project deals with a well-known lamp from Phillips, the Wake Up Light. This is an alarm clock that, instead of making a loud noise, slowly increases the brightness. This creates a type of sunrise, and one wakes up in…
Read more
Day 16: A web server piano
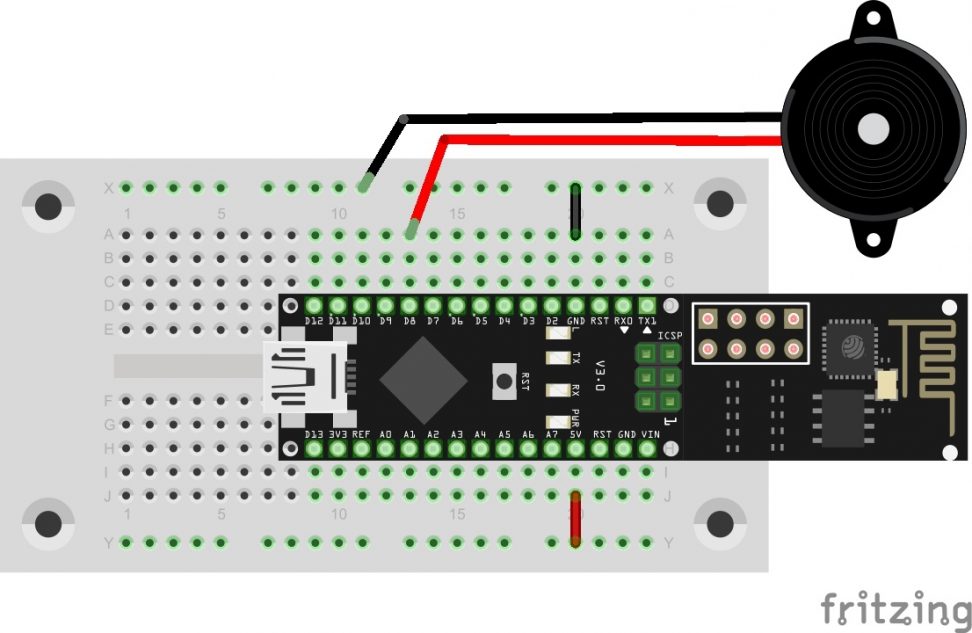
Behind today’s door is a piezo sound transducer. It’s possible to generate sounds with it, which will become clear in today’s test. Today you’re building a type of piano that can be used via a website. See the following picture…
Read more
Day 15: A web server
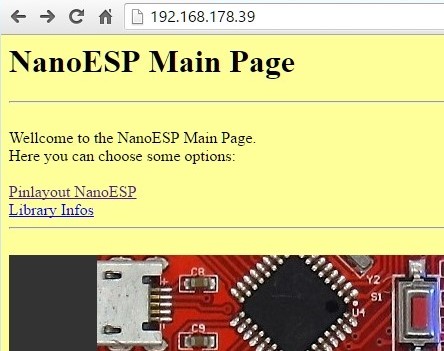
Since the Blynk platform was the central point of our projects over the last few days, now we’re coming to a totally new subject: the NanoESP as web server. You’ve already gotten a first impression of it in the test…
Read more
Day 18: Universal remote control
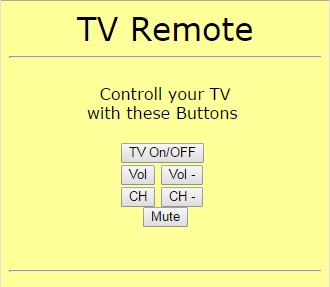
Yesterday, you built a receiver for infra-red remote controls. Today, you are building the remote control itself. More precisely, you will build a universal remote control that you can operate by computer or Smartphone and with which you can operate…
Read more
Day 17: IR module
Today’s project permits controlling the controller by remote control. You can change the colour of the RGB-LED with buttons you can choose on an infra-red remote control, and change the background colour of the website right along with it. Behind…
Read more
Day 16: GPIO Control
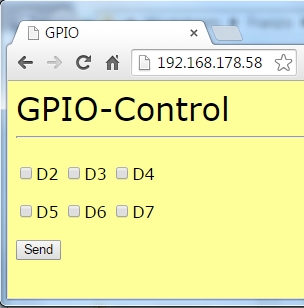
Today’s project permits simple control of the digital pins D2-D7 per website. The status of the respective pin is also presented on the website, so that you will never lose the overview. To review the condition of the pin well,…
Read more
Day 15: Light sensor
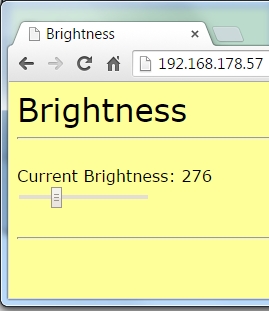
Today’s project does not use the web server’s website as a control interface, but as an output element. The brightness measured via a brightness sensor is displayed well-structuredly as a relative value. Behind today’s door, there is another photo transistor…
Read more
Day 14: Webserver for the RGB-LED
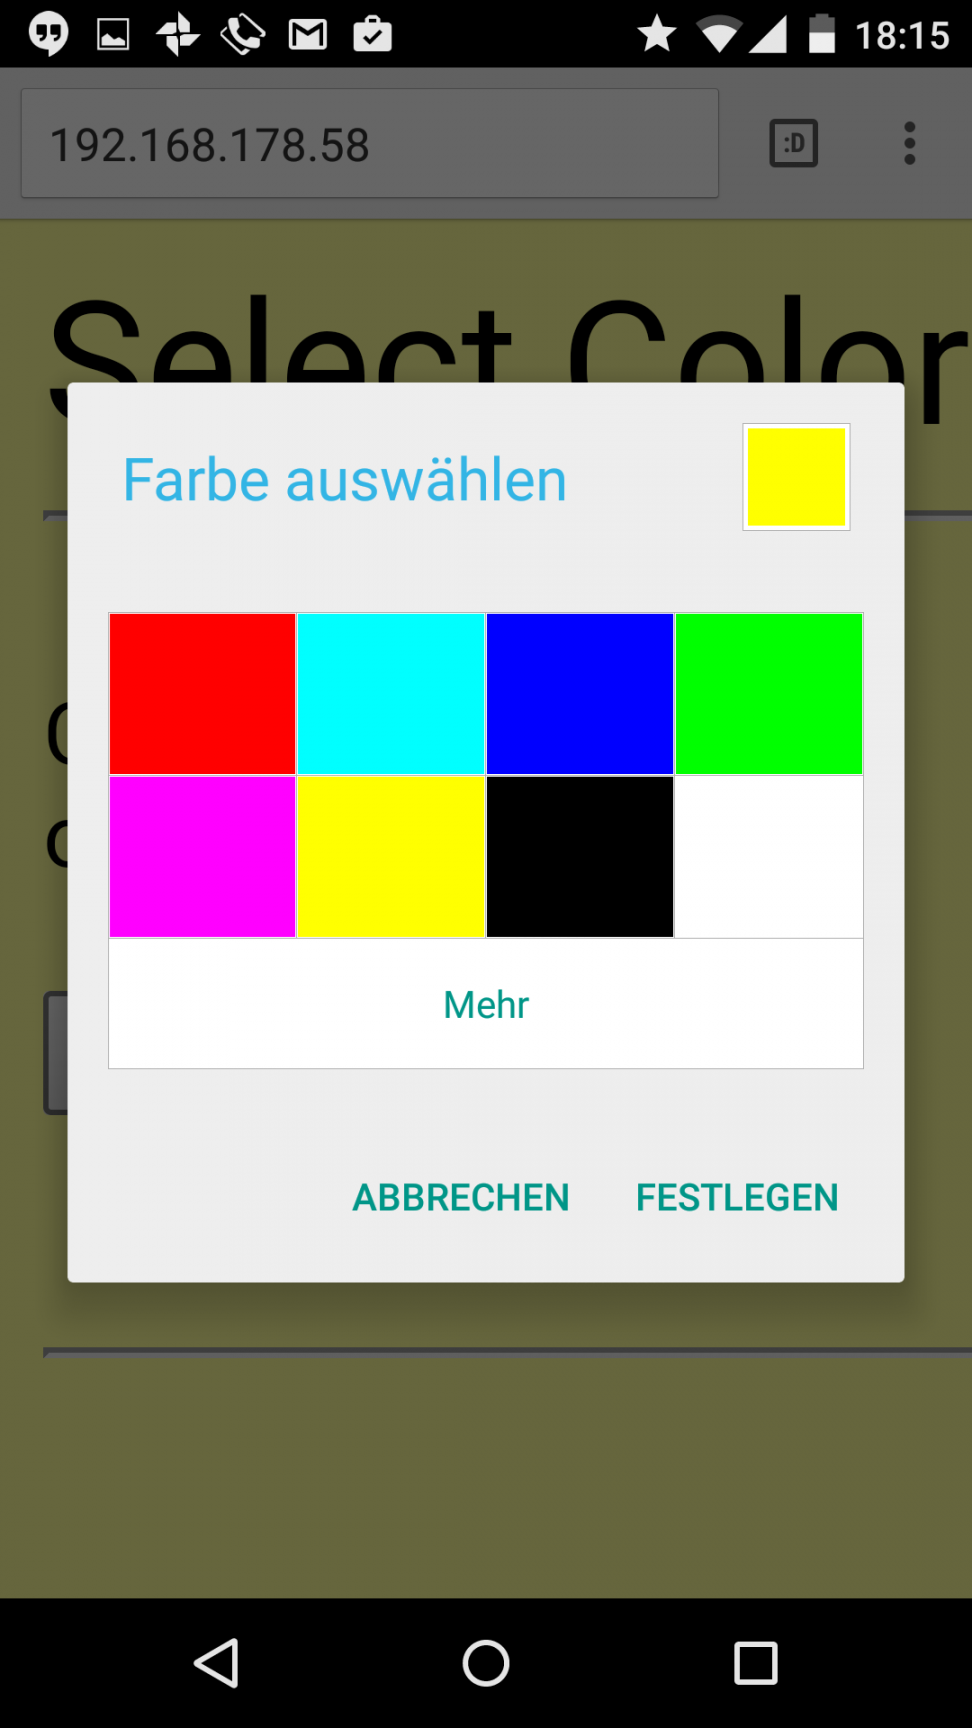
Today’s project is about controlling the RGB-LED by web server. A well-structured interface can be used to change the colour of the LED. The website has also been adjusted and should be easy to display even on Smartphones. Behind today’s…
Read more