NanoESP
Day 10: Colour mixing
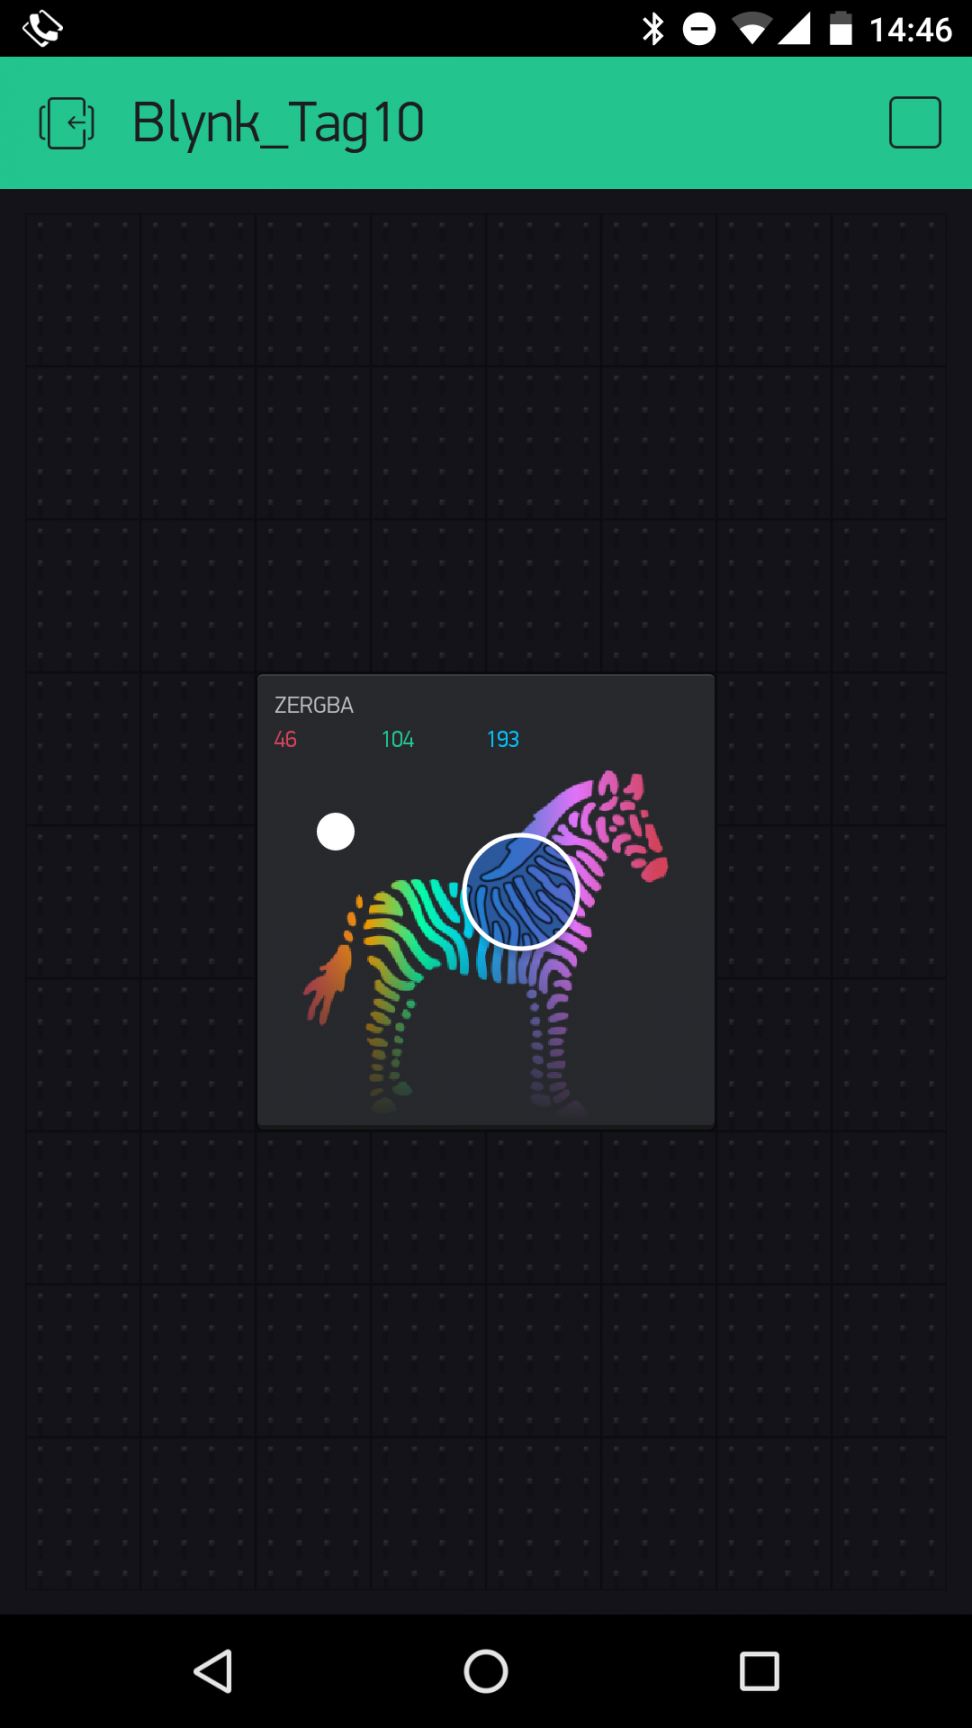
Behind today’s door is the reason for the many 1-kohm resistors. Namely, what you find there is a so-called RGB LED RGB stands for red-greenblue, since this LED is actually three LEDs that can be connected through a common cathode….
Read more
Day 9: Brightness of the real LED
Behind today’s door is another 1-kohm resistor. But today you don’t have to change anything in the hardware layout from yesterday. Only a small detail changes on the interface. You don’t have to re-upload the programme because you’re simply manually…
Read more
Day 8: Virtual LEDs
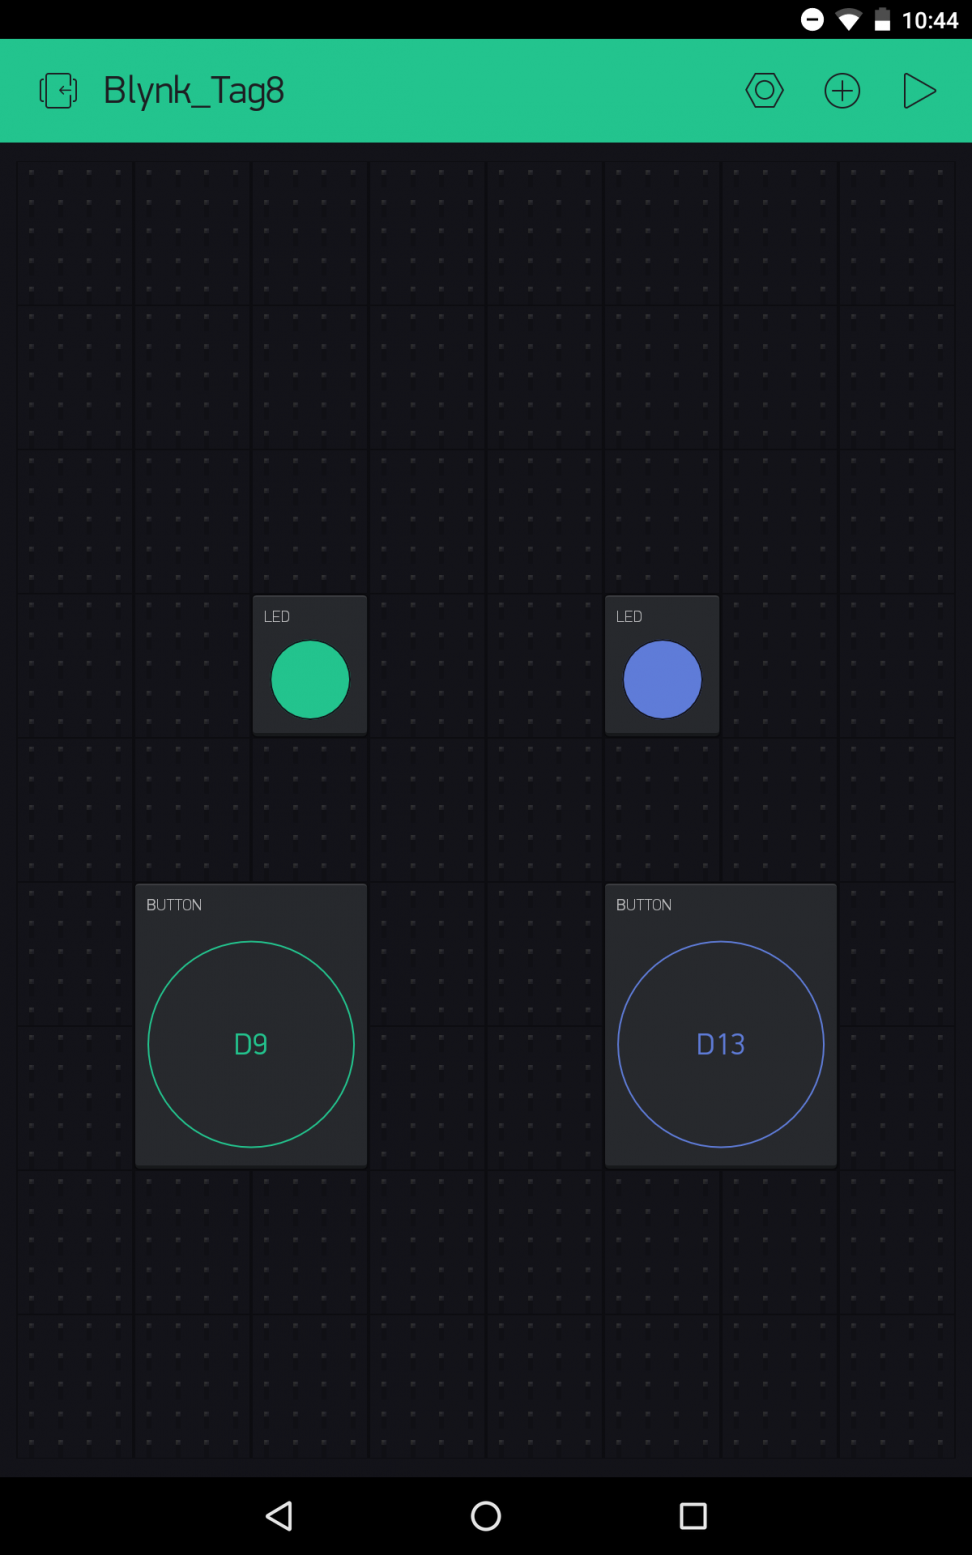
In the test for the sixth day, you saw how a push button on the hardware side can be mapped on a button in the app. However, another widget, namely the LED widget, is much simpler for this instance. In…
Read more
Day 7: Analogue write
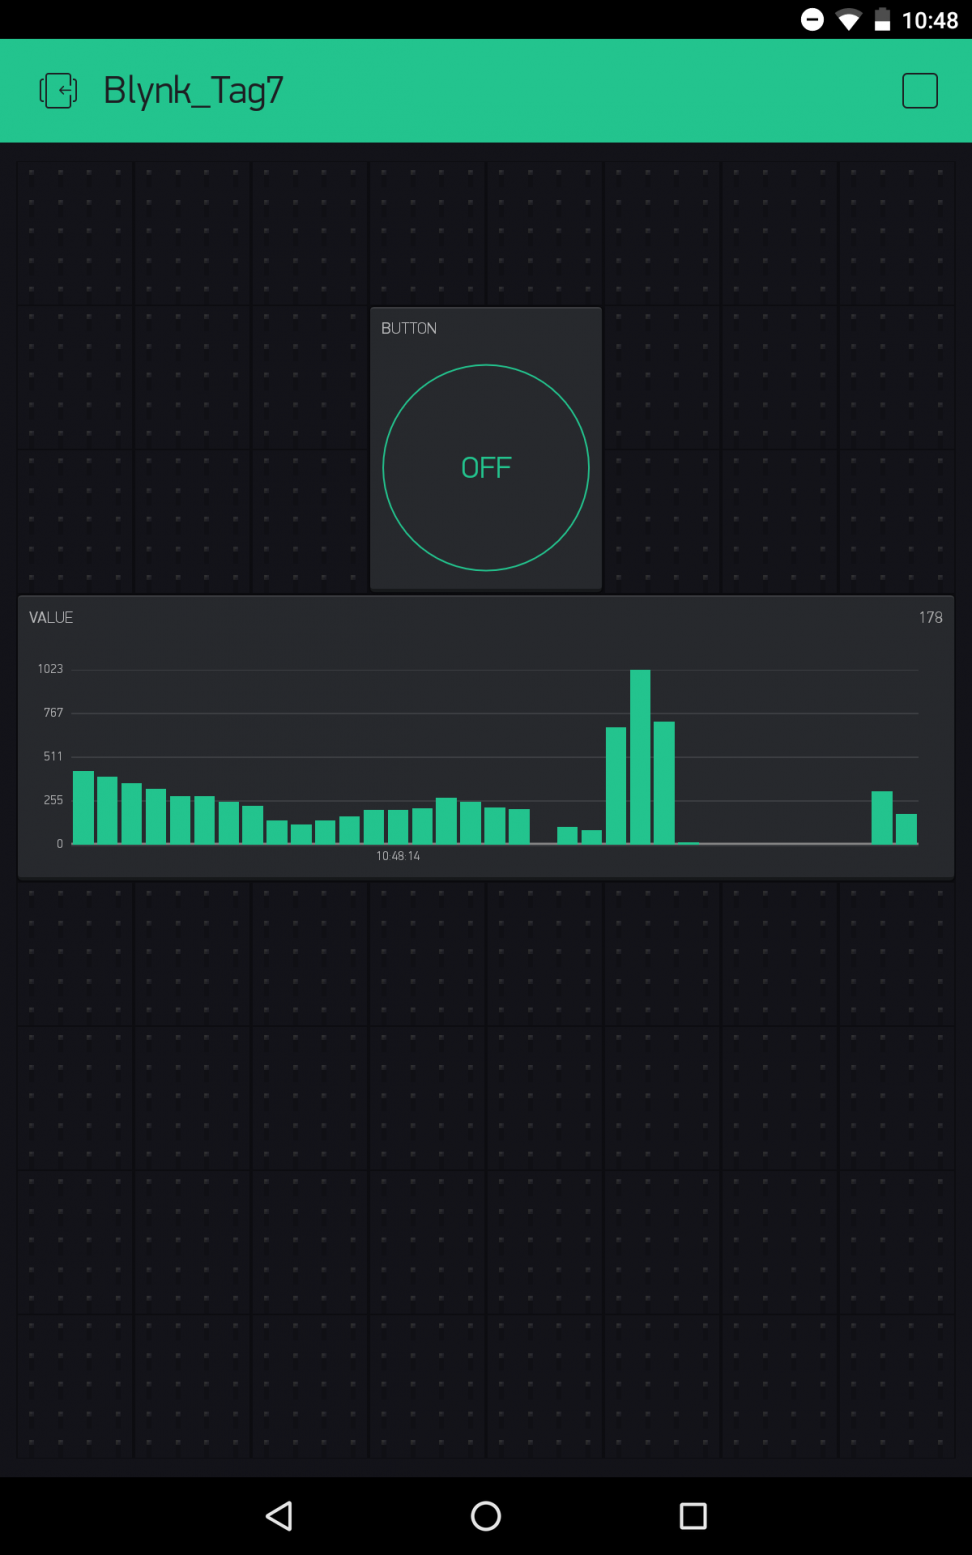
Behind today’s door is a potentiometer. You can use it to transfer analogue messages to the Blynk app. To do this, you need to build the circuit according to the picture. Things can get a bit tight when constructing with…
Read more
Day 6: The hardware button
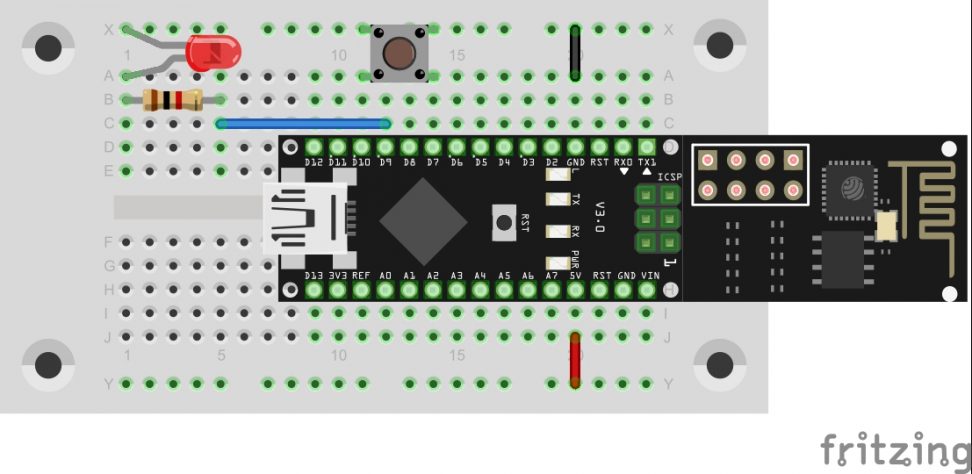
In yesterday’s test, you realised a simple control of an LED using the Blynk app. Today you’ll see that the control works in both directions. The push-button switch behind today’s door really comes in handy for this purpose. With it,…
Read more
Day 5: Blynk
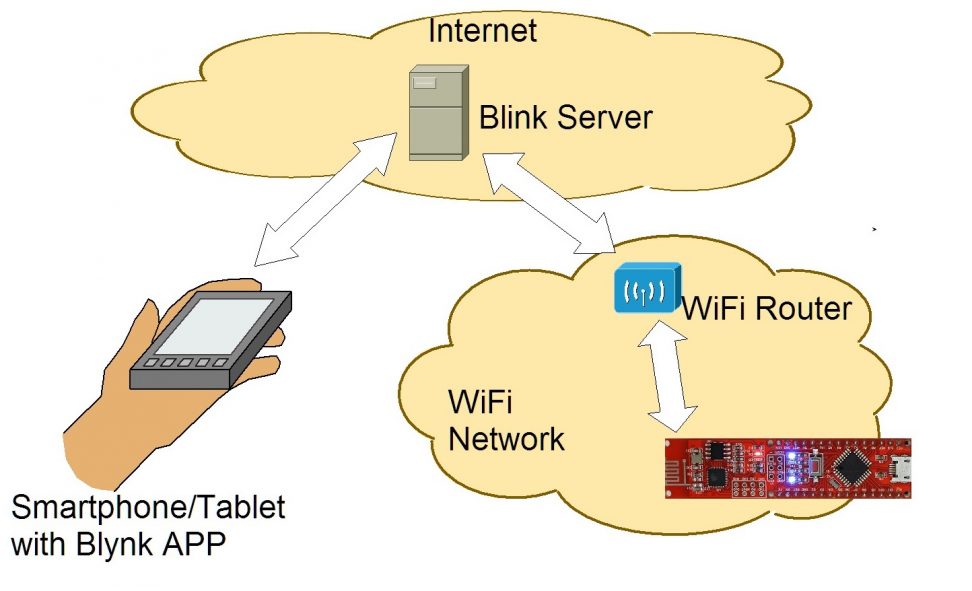
You already established a first connection from the board to the Internet yesterday. In the coming days, this connection should be used effectively. So we’re looking at the online platform Blynk, through which short commands, measurement data or messages can…
Read more
Day 4: Setting up Internet connection
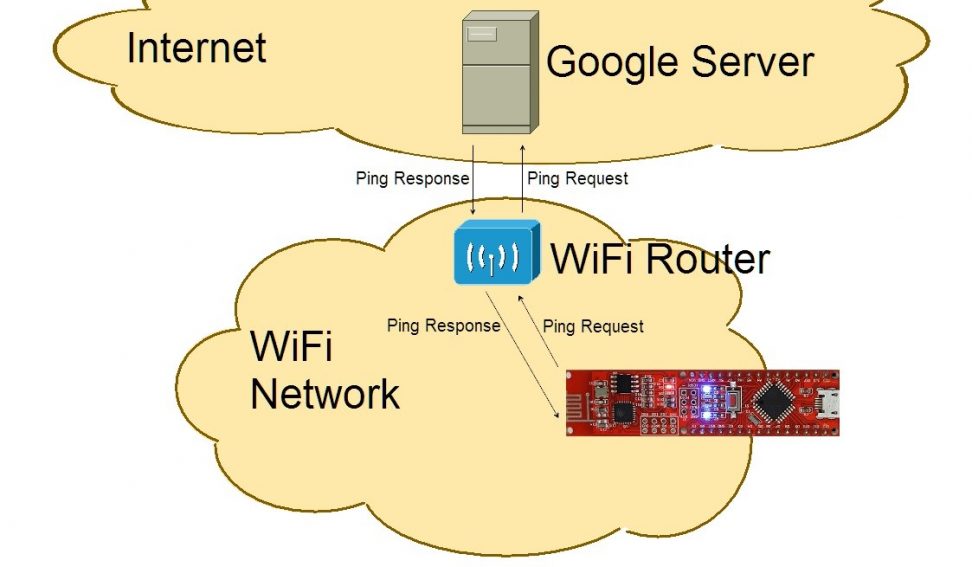
Behind today’s door is a 1-kohm resistor. We’re not going to do much with it today, but tomorrow it becomes important. In today’s test, we want to set up an initial connection to your home WLAN network. For this purpose,…
Read more
Day 3: The NanoESP in access point mode
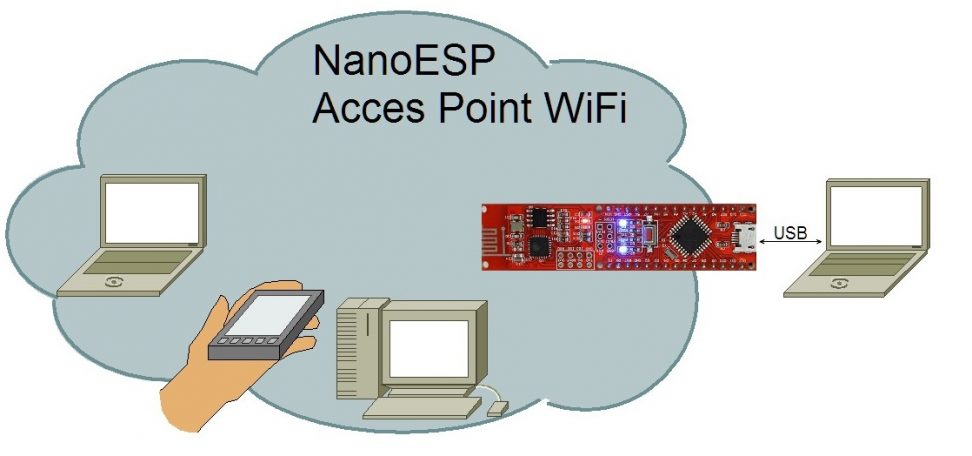
Behind the third door is the jumper wire, which is important for many tests. To prepare for later tests, you can place the supply lines GND and VCC on the outermost lanes. You’ll thereby have better access to these important…
Read more
Day 2: The Arduino IDE
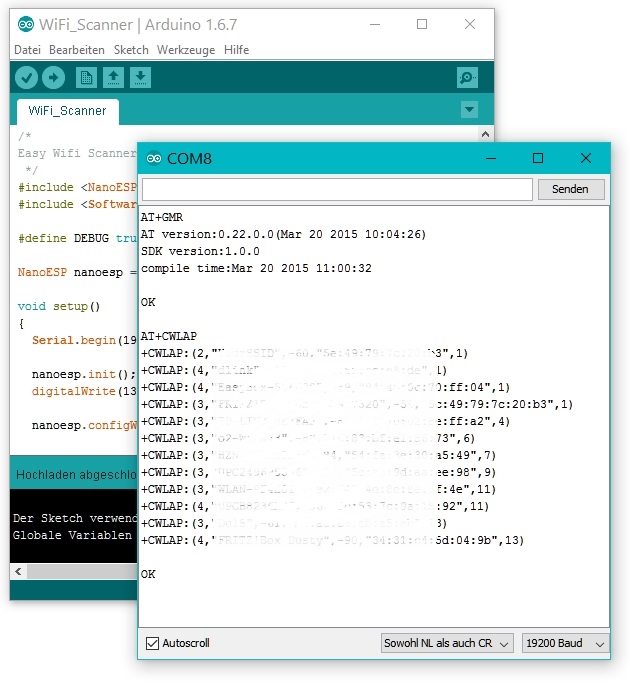
This time there’s a breadboard behind the door. On it, you can quickly and easily assemble the hardware layouts of the Advent calendar. Since only the NanoESP is available so far, we’ll start with it. It’s best if you plug…
Read more
Tag 1: Das NanoESP-Board

It’s the first of December and thus time to open the first door. Behind it is arguably the most important element of the calendar: the NanoESP board. This Arduino-compatible controller with WLAN function is at the centre of the 24…
Read more

 Deutsch