Calendar 2016
Day 15: A web server
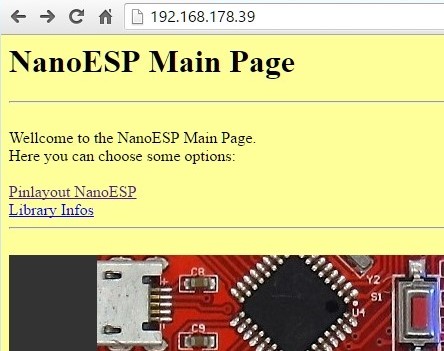
Since the Blynk platform was the central point of our projects over the last few days, now we’re coming to a totally new subject: the NanoESP as web server. You’ve already gotten a first impression of it in the test…
Read more
Day 14: Long-term temperature measurement
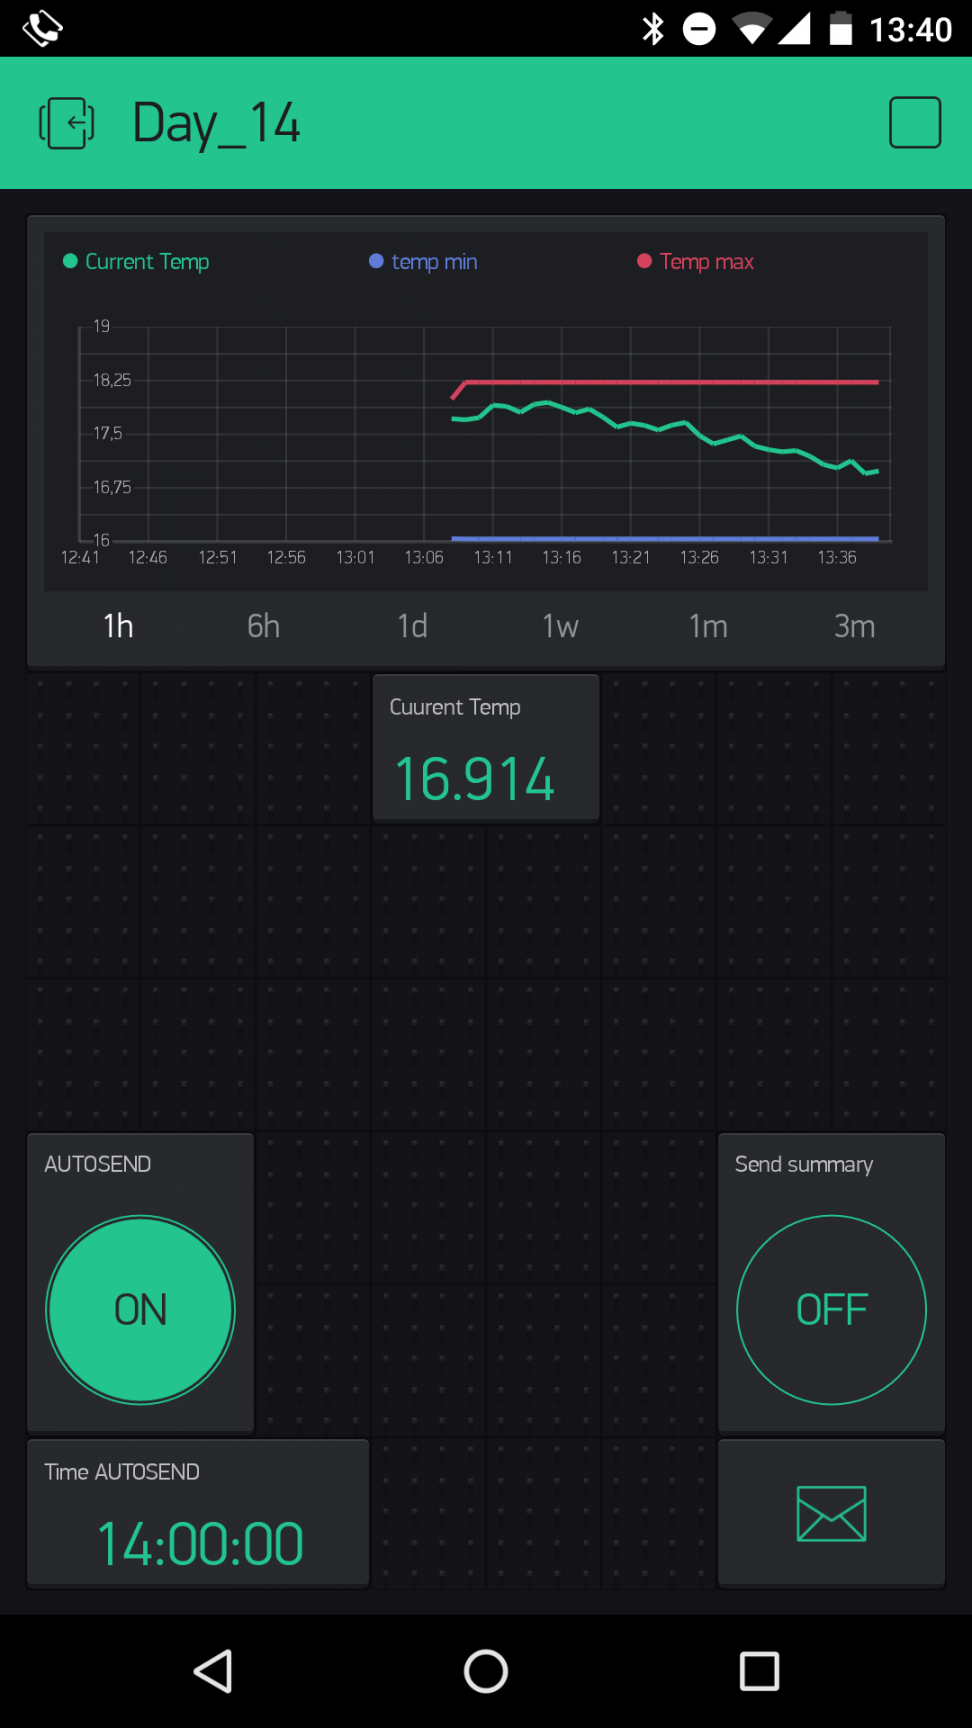
Behind today’s door is an NTC sensor (negative temperature coefficient thermistor). Its conductivity changes depending on the temperature. You’ll use the sensor today to undertake a long-term measurement of the temperature. As a small bonus, you can select a time…
Read more
Day 13: Alarm system with push messages
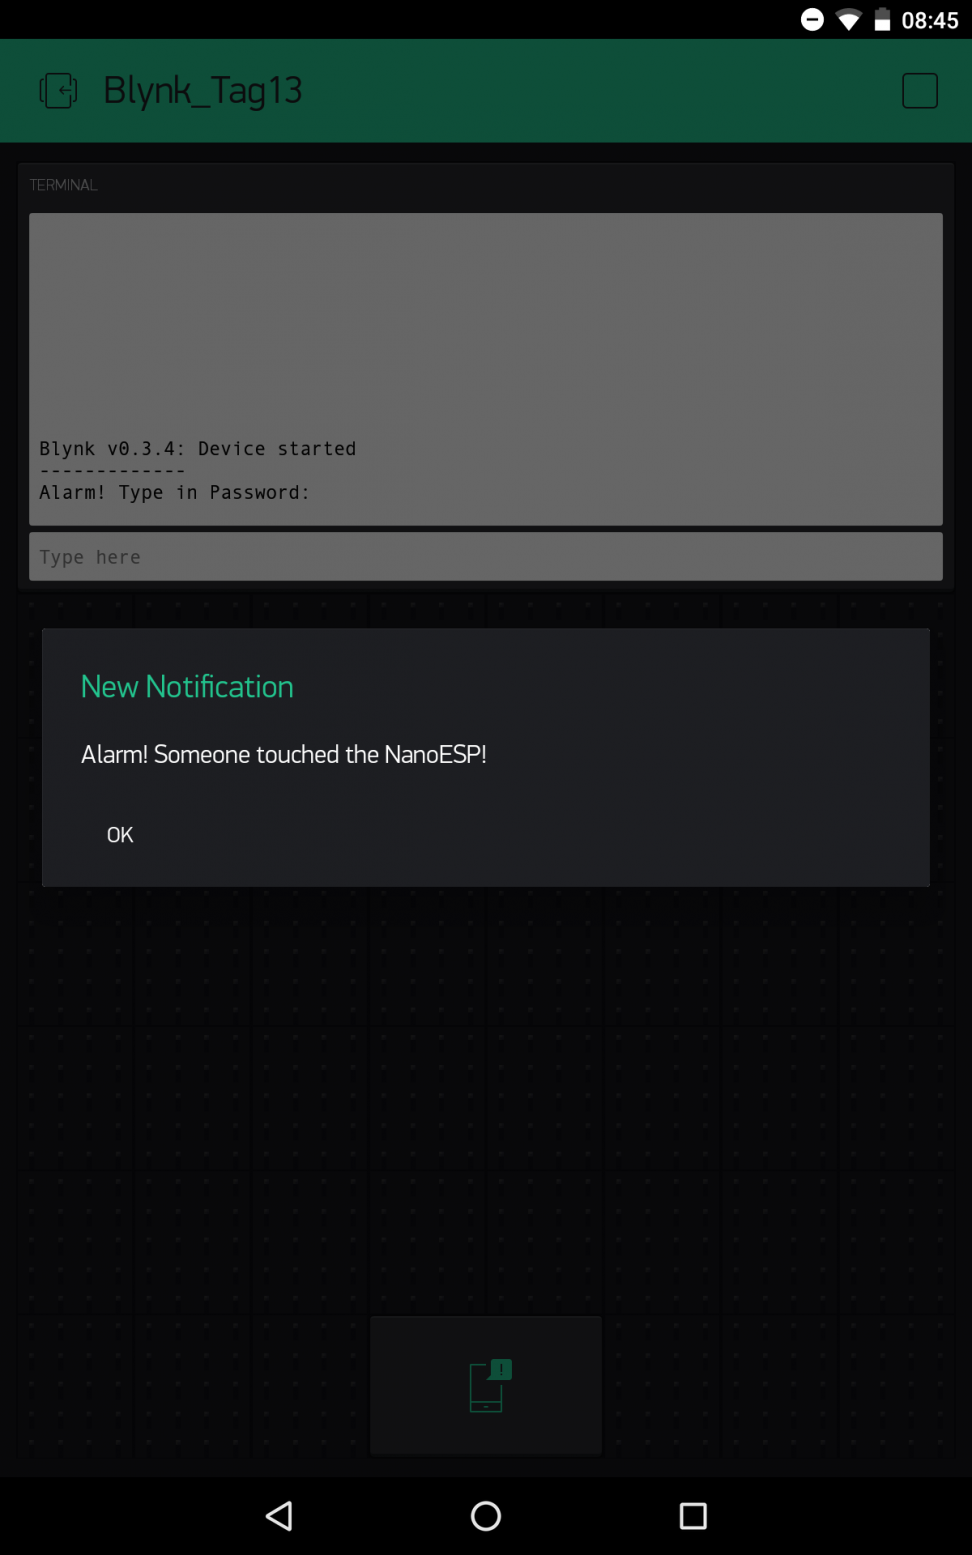
Today’s project deals with a simple silent alarm system with password input for resetting the alarm. So that you get anything at all from the alarm, the board sends a push message to your smartphone. We’ll set the tilt sensor that’s…
Read more
Day 12: Light monitor
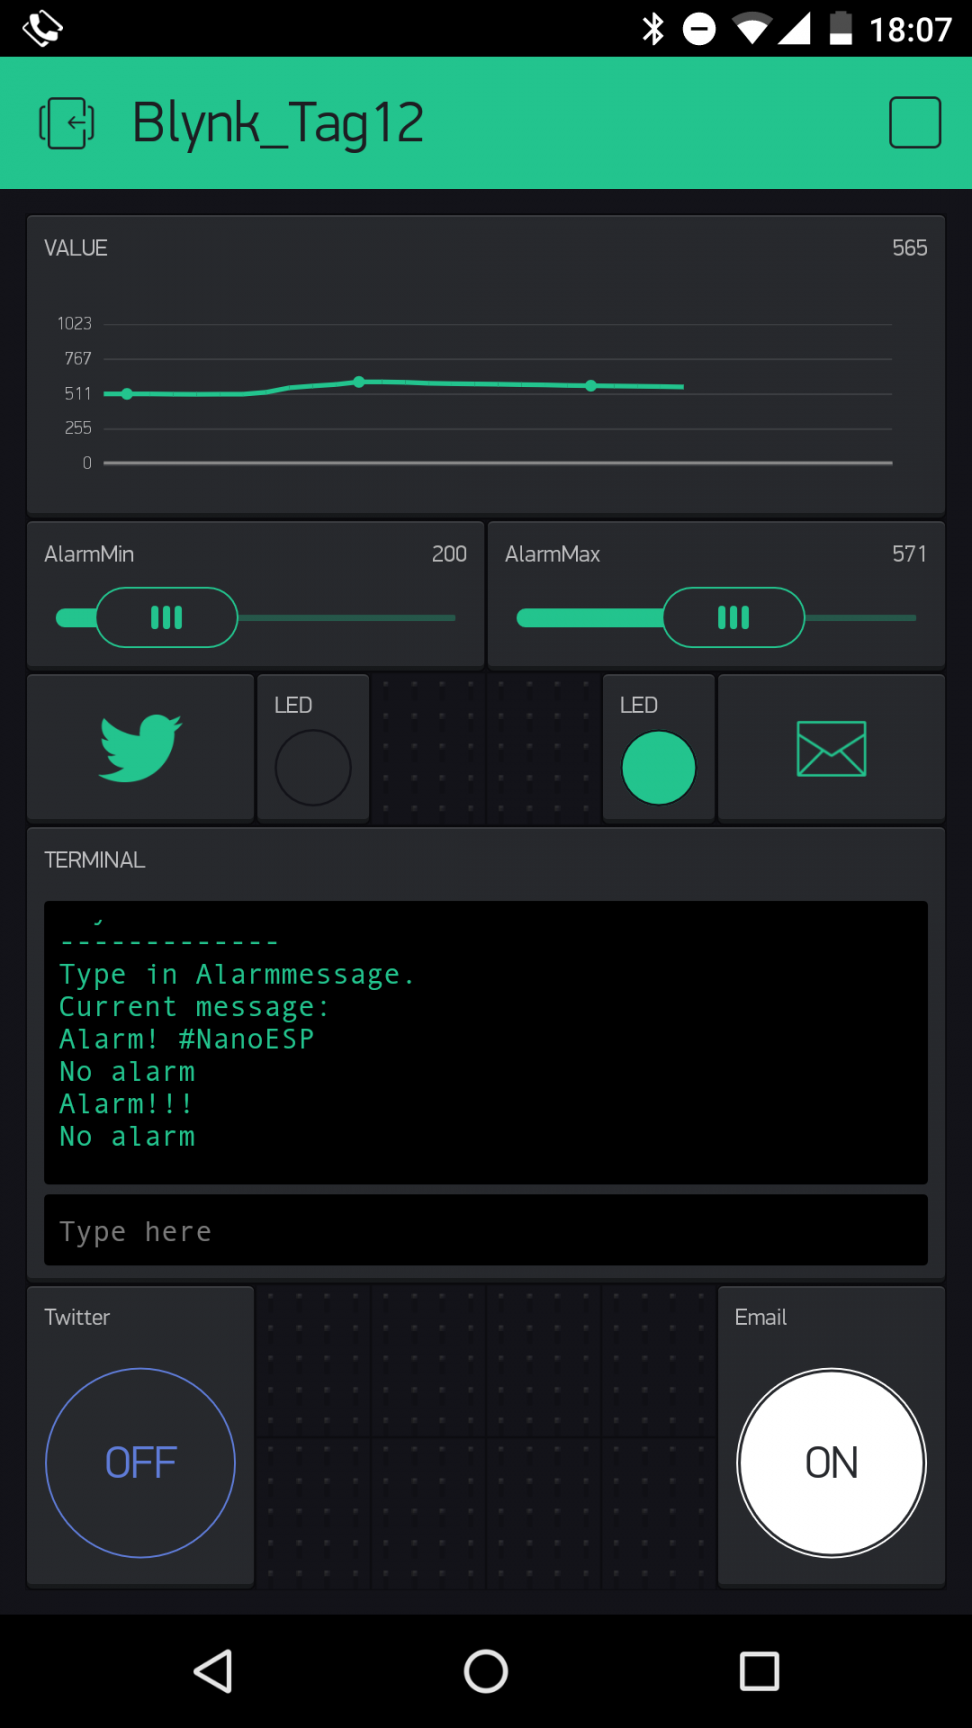
Behind today’s door, you’ll find a phototransistor. This is a sensor with which the brightness can be measured. You’ll do that today, but in addition to simple measurement, the project also sounds an alarm as soon as limit values that…
Read more
Day 11: Day- and nightlight
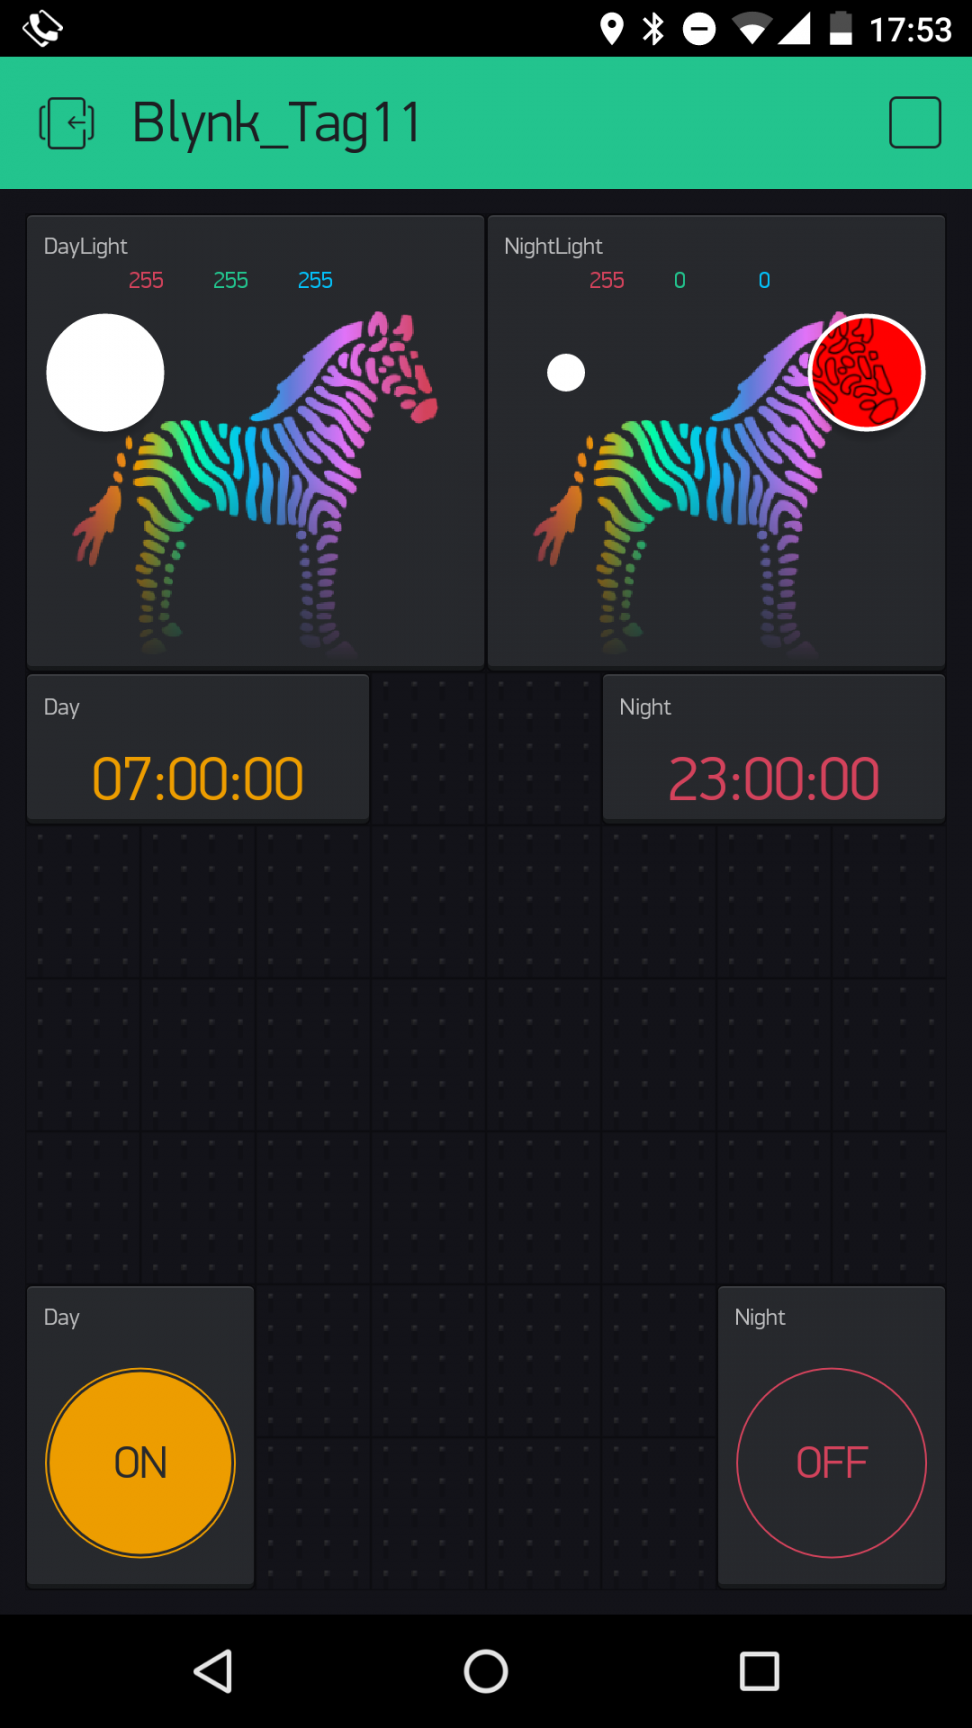
Behind today’s door is a 10-kohm resistor, but we don’t need it yet today. Instead, the set-up from yesterday’s test works today as well. In this project, you’ll build a day-night lamp that changes colours at specific times. Thus you…
Read more
Day 10: Colour mixing
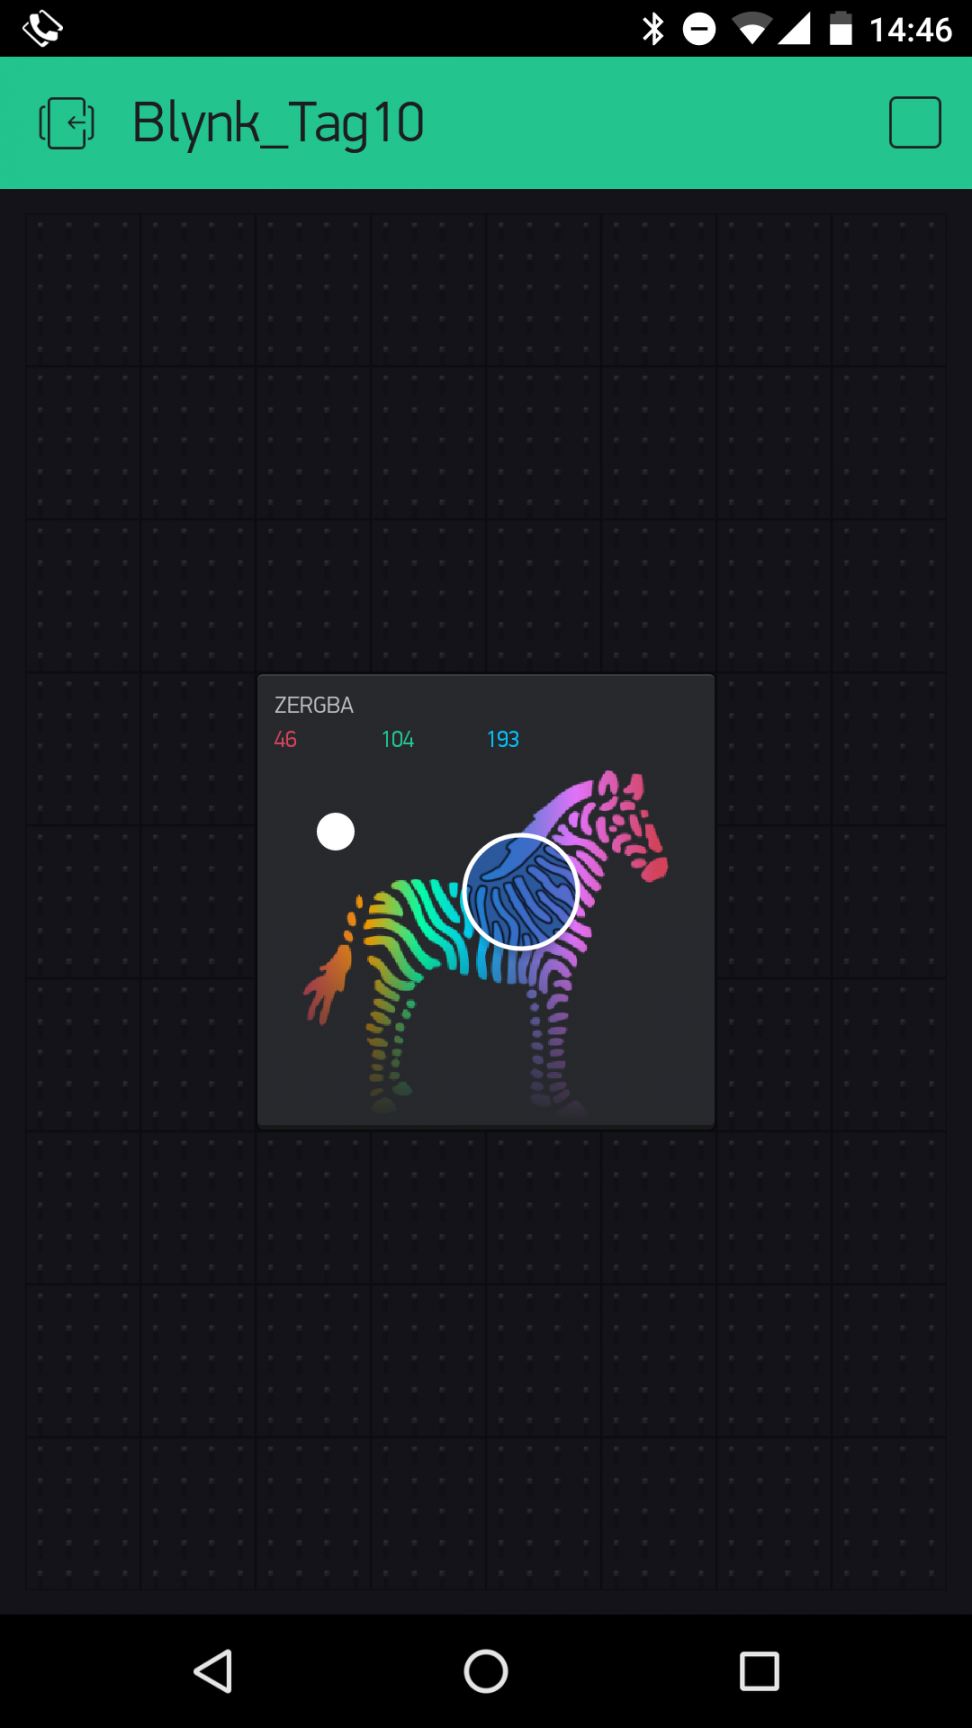
Behind today’s door is the reason for the many 1-kohm resistors. Namely, what you find there is a so-called RGB LED RGB stands for red-greenblue, since this LED is actually three LEDs that can be connected through a common cathode….
Read more
Day 9: Brightness of the real LED

Behind today’s door is another 1-kohm resistor. But today you don’t have to change anything in the hardware layout from yesterday. Only a small detail changes on the interface. You don’t have to re-upload the programme because you’re simply manually…
Read more
Day 8: Virtual LEDs
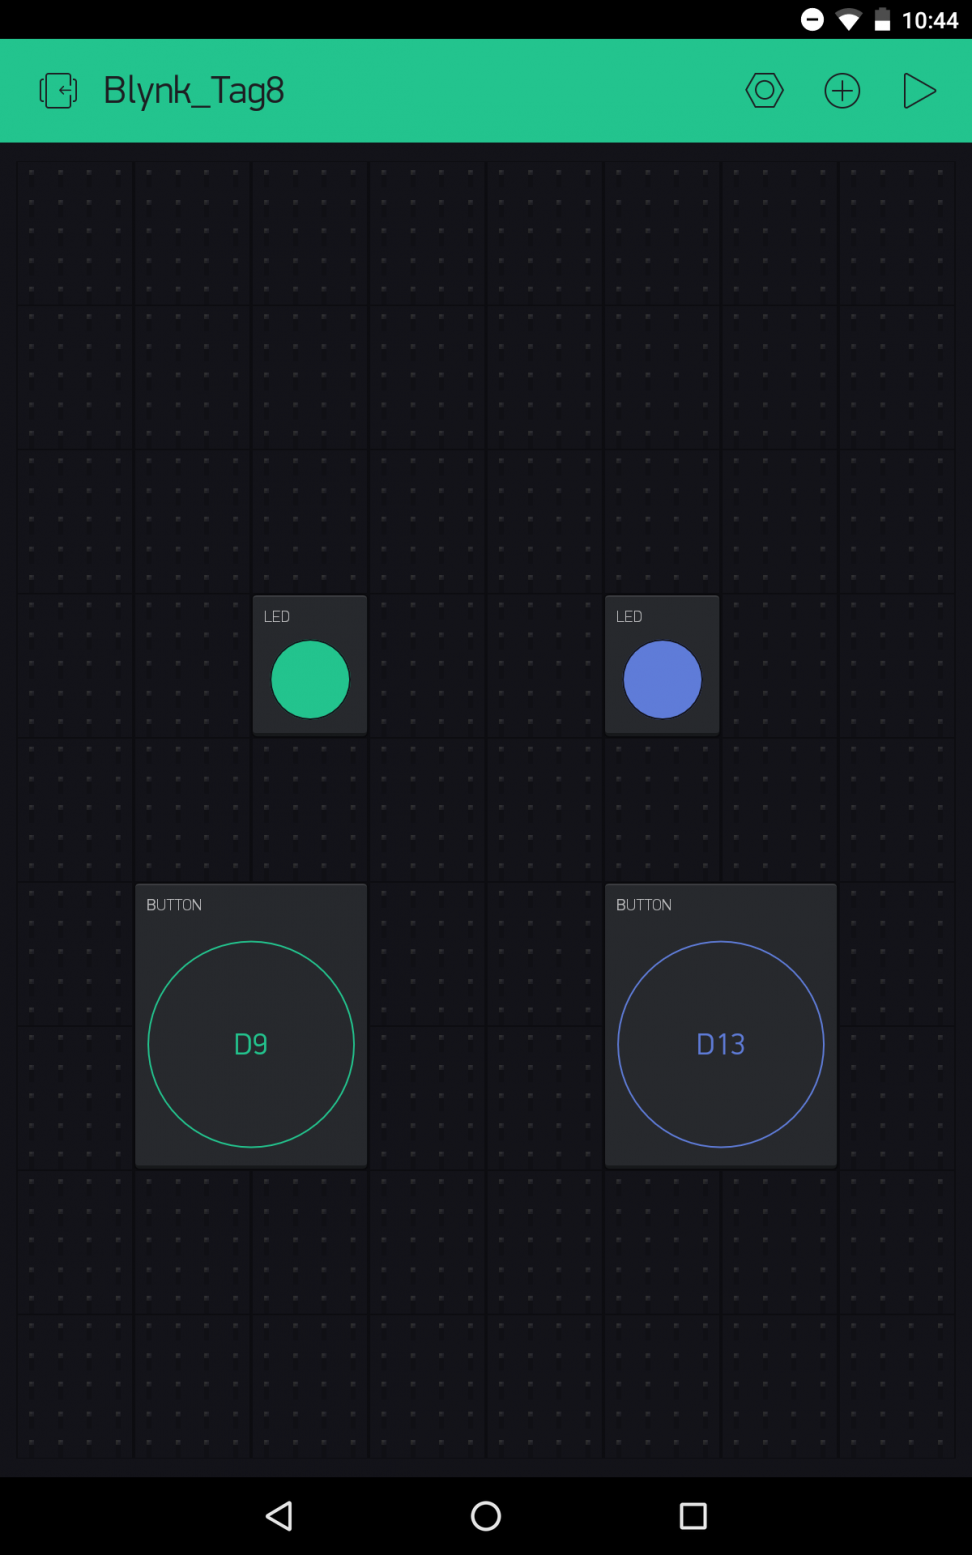
In the test for the sixth day, you saw how a push button on the hardware side can be mapped on a button in the app. However, another widget, namely the LED widget, is much simpler for this instance. In…
Read more
Day 7: Analogue write
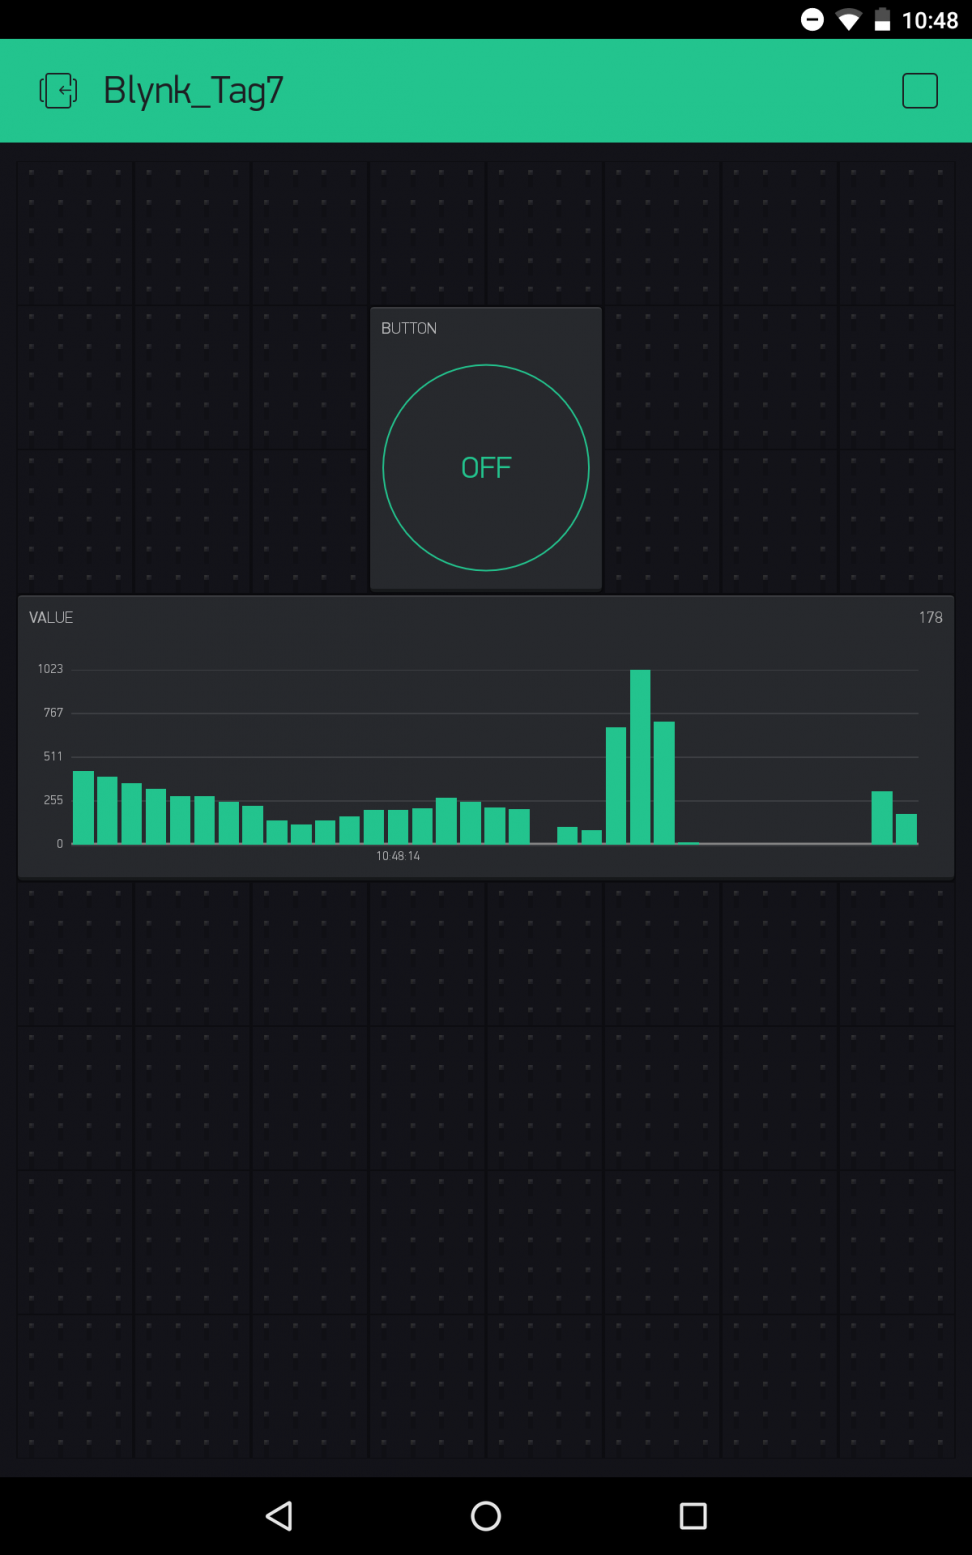
Behind today’s door is a potentiometer. You can use it to transfer analogue messages to the Blynk app. To do this, you need to build the circuit according to the picture. Things can get a bit tight when constructing with…
Read more
Day 6: The hardware button
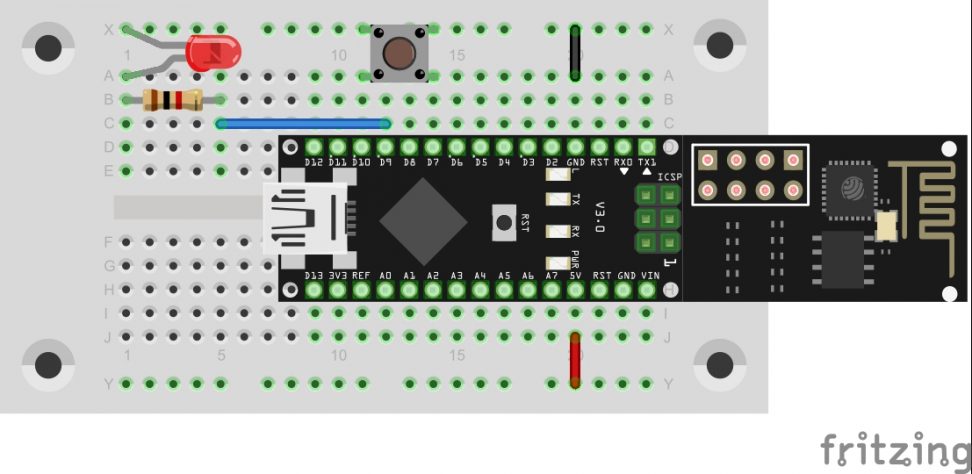
In yesterday’s test, you realised a simple control of an LED using the Blynk app. Today you’ll see that the control works in both directions. The push-button switch behind today’s door really comes in handy for this purpose. With it,…
Read more

 Deutsch